New Pattern
-
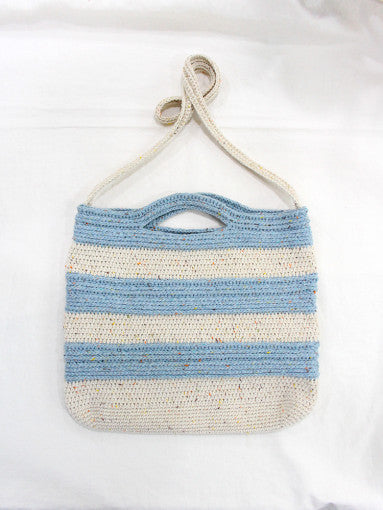
[뜨개도안+동영상] 그랑데 네트 스퀘어백 / 코바늘
정가 ₩2,000 KRW정가단가 단위 -
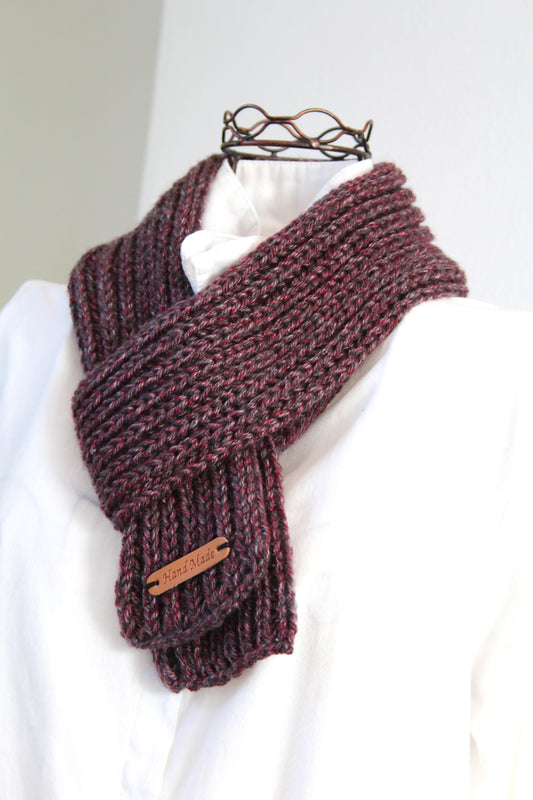
[뜨개도안+동영상] 히말라야 뉴트위드 미니 목도리 / 대바늘
정가 ₩1,000 KRW정가단가 단위 -
[뜨개도안+동영상] 생활 한복 니트 저고리(더쉬운아침) , S,M,L 사이즈 도안
정가 ₩10,000 KRW정가단가 단위 -
[뜨개도안+동영상] 도트네프 배색 크로스백 코바늘
정가 ₩3,000 KRW정가단가 단위 -
[뜨개도안+동영상] 그랑데 미니 그래니 스퀘어백 / 코바늘
정가 ₩2,000 KRW정가단가 단위 -
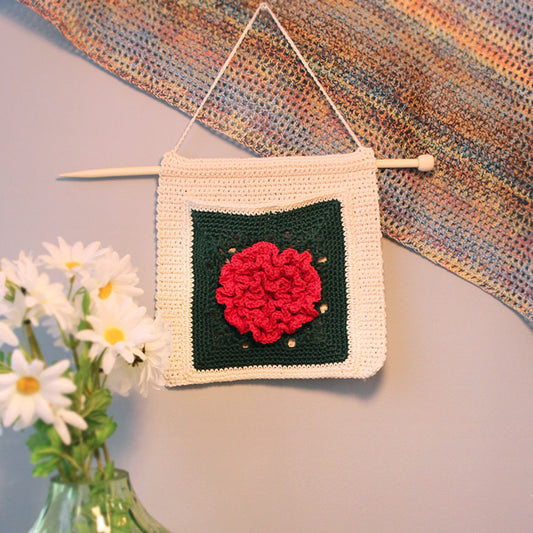
[뜨개도안+동영상] 코튼트리 포켓 카네이션
정가 ₩3,000 KRW정가단가 단위 -
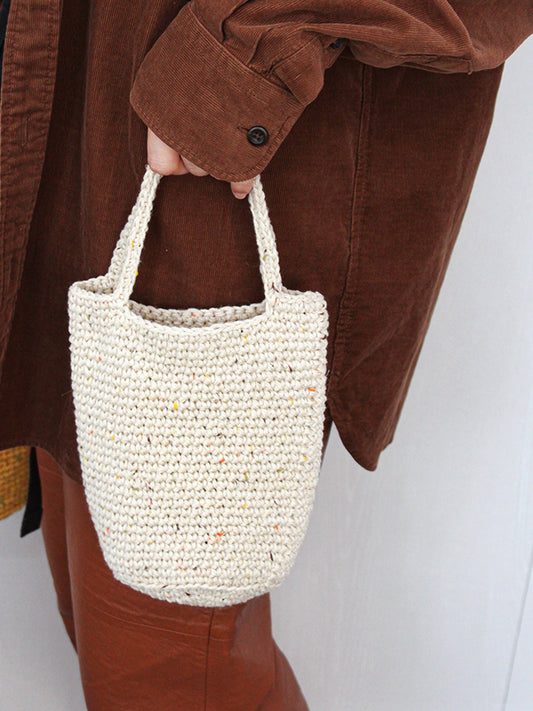
[뜨개도안+동영상] 카페 레더 미니 토트백
정가 ₩2,000 KRW정가단가 단위 -
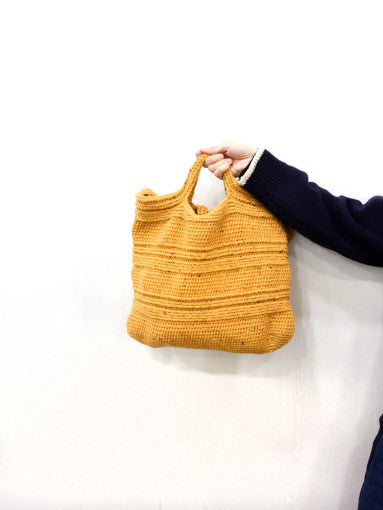
[뜨개도안+동영상] 도트네프 크로스백 코바늘
정가 ₩3,000 KRW정가단가 단위 -
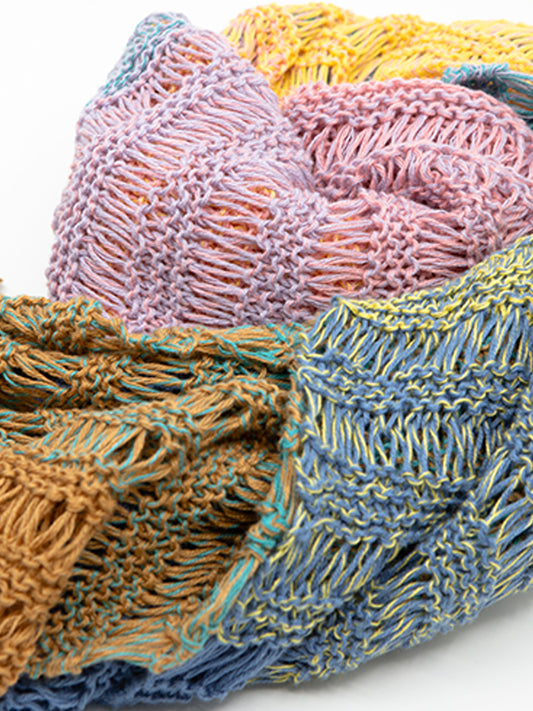
[뜨개도안] 쏠레일 그라데이션 숄 여름숄 또는 간절기 머플러 사용 대바늘
정가 ₩2,000 KRW정가단가 단위 -
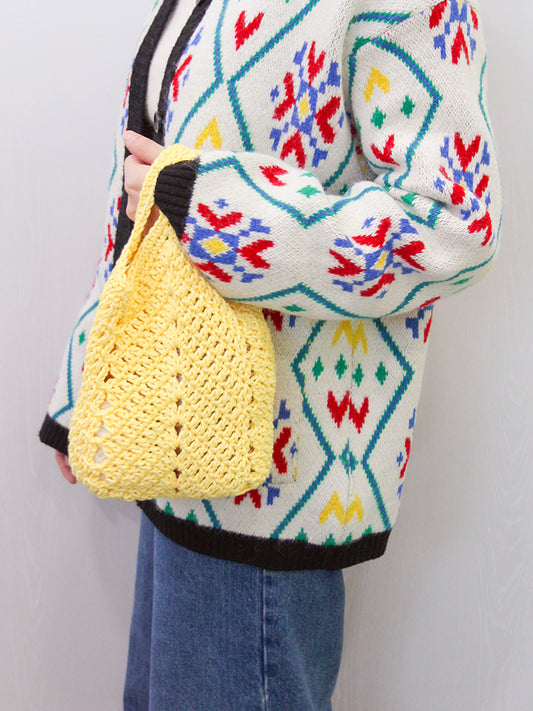
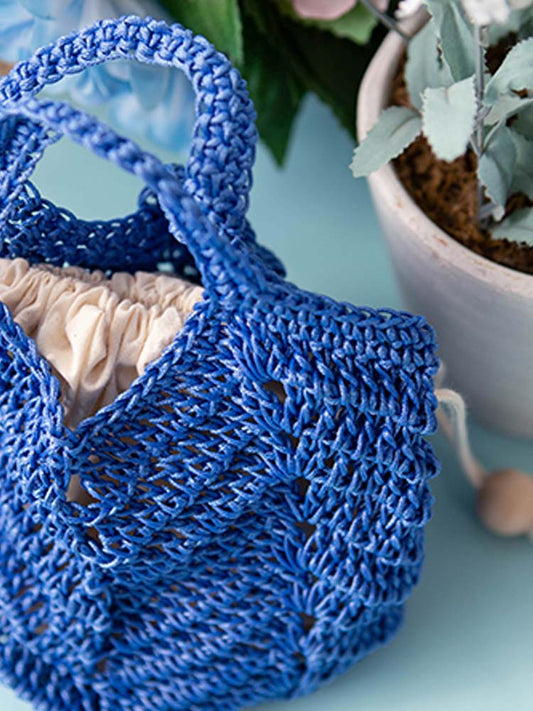
[뜨개도안+동영상] 도트네프 미니 토트백
정가 ₩2,000 KRW정가단가 단위 -
[뜨개도안] 플레인레더 미니 토트백 코바늘
정가 ₩2,000 KRW정가단가 단위 -
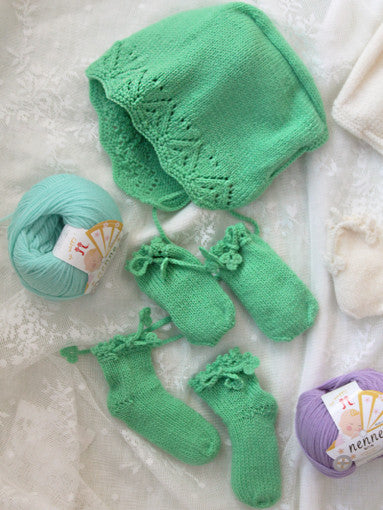
[뜨개도안+동영상] 넨네 레이스 (보넷+손싸개+양말) 대바늘
정가 ₩5,000 KRW에서정가단가 단위 -
[뜨개도안] 파올라 레이나 인형옷/ 2가지 스타일 선택
정가 ₩4,000 KRW정가단가 단위 -
[뜨개도안+동영상] 데코 미니 그래니 스퀘어백 코바늘
정가 ₩2,000 KRW정가단가 단위 -
[뜨개도안] 나나골드 틴실크 모헤어 조끼 대바늘
정가 ₩5,000 KRW정가단가 단위
![[뜨개도안+동영상] 그랑데 네트 스퀘어백 / 코바늘](http://knit-pattern.com/cdn/shop/files/46293044706836094_1061571534.jpg?v=1688196589&width=533)

![[뜨개도안+동영상] 히말라야 뉴트위드 미니 목도리 / 대바늘](http://knit-pattern.com/cdn/shop/files/cd91e3ce5a68eae25279d4d82c6b58b8.jpg?v=1697031172&width=533)
![[뜨개도안+동영상] 생활 한복 니트 저고리(더쉬운아침) , S,M,L 사이즈 도안](http://knit-pattern.com/cdn/shop/files/750_1000_5631cb42-2908-4355-8134-0e93d6a4eacc.jpg?v=1705913600&width=533)
![[뜨개도안+동영상] 도트네프 배색 크로스백 코바늘](http://knit-pattern.com/cdn/shop/files/th1.jpg?v=1709217368&width=533)
![[뜨개도안+동영상] 그랑데 미니 그래니 스퀘어백 / 코바늘](http://knit-pattern.com/cdn/shop/files/74dbed0918a15c83619cb536fad78bf0.jpg?v=1696421415&width=533)
![[뜨개도안+동영상] 코튼트리 포켓 카네이션](http://knit-pattern.com/cdn/shop/files/01_4c869a08-9c6f-4b6a-967e-eb31feb302ba.jpg?v=1713359917&width=533)
![[뜨개도안+동영상] 카페 레더 미니 토트백](http://knit-pattern.com/cdn/shop/files/750_1000_dfc84356-d7fa-4310-9f7d-6c3c7f90db61.jpg?v=1711456278&width=533)
![[뜨개도안+동영상] 도트네프 크로스백 코바늘](http://knit-pattern.com/cdn/shop/files/th1_4a2634a8-7595-448d-b5da-724d356d04ff.jpg?v=1709368365&width=533)
![[뜨개도안] 쏠레일 그라데이션 숄 여름숄 또는 간절기 머플러 사용 대바늘](http://knit-pattern.com/cdn/shop/files/750_1000_16935376-4064-4be7-a4df-10ba273c1082.jpg?v=1709113515&width=533)
![[뜨개도안+동영상] 도트네프 미니 토트백](http://knit-pattern.com/cdn/shop/files/44129298518301980_1728645310.jpg?v=1708958763&width=533)
![[뜨개도안] 플레인레더 미니 토트백 코바늘](http://knit-pattern.com/cdn/shop/files/750_1000_b84d8b91-2b05-4b23-a297-82ecdee08240.jpg?v=1708419392&width=533)

![[뜨개도안+동영상] 넨네 레이스 (보넷+손싸개+양말) 대바늘](http://knit-pattern.com/cdn/shop/files/1_88f95c8e-f132-4a6a-a809-277c03f6ddf1.jpg?v=1707726649&width=533)
![[뜨개도안] 파올라 레이나 인형옷/ 2가지 스타일 선택](http://knit-pattern.com/cdn/shop/files/750_1000_377eb6ff-49a9-46c1-9d10-a139b6d52d26.jpg?v=1706541547&width=533)

![[뜨개도안+동영상] 데코 미니 그래니 스퀘어백 코바늘](http://knit-pattern.com/cdn/shop/files/49057009449341084_993798079_1.jpg?v=1704439045&width=533)

![[뜨개도안] 나나골드 틴실크 모헤어 조끼 대바늘](http://knit-pattern.com/cdn/shop/files/0b0dff70850dc1692038ba4e60b5d6f7.jpg?v=1699535296&width=533)

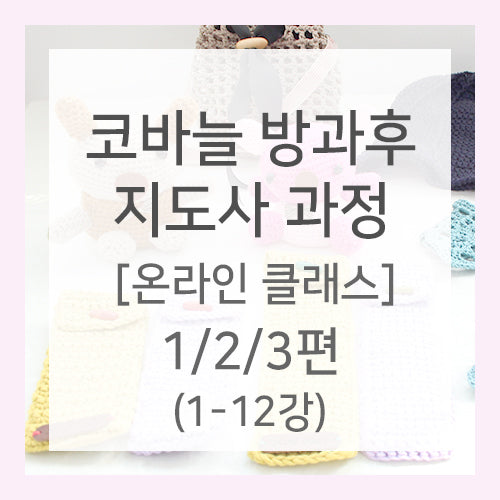
온라인 자격증 강의 과정
코바늘 방과후 지도사
코바늘를 처음하시는 분도 가능합니다.
코바늘 잡는방법부터 단계적으로 강의를 진행합니다.
강의에 따라 단계적으로 작품을 뜨시다 보면 실력이 점차 늘어나는 것을 느낄실 수 있습니다.
강의로 향상된 나의 코바늘 능력은 자격증으로 검증 받아보세요.
나의 코바늘 능력 확인과 사회 활동시 증명으로 사용하실 수 있습니다.
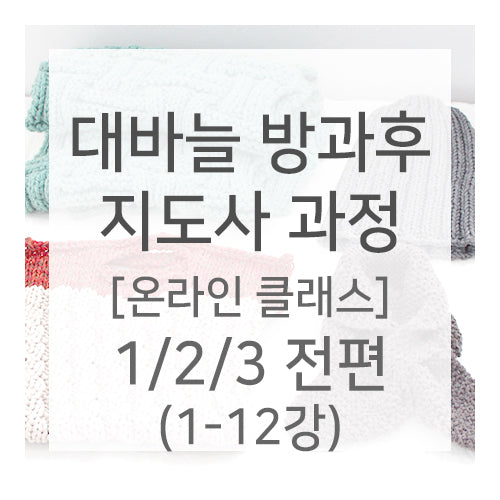
온라인 자격증 강의 과정
대바늘 방과후 지도사
대바늘를 처음하시는 분도 가능합니다.
대바늘 잡는방법부터 단계적으로 강의를 진행합니다.
강의에 따라 단계적으로 작품을 뜨시다 보면 실력이 점차 늘어나는 것을 느낄실 수 있습니다.
강의로 향상된 나의 대바늘 능력은 자격증으로 검증 받아보세요.
나의 대바늘 능력 확인과 사회 활동시 증명으로 사용하실 수 있습니다.
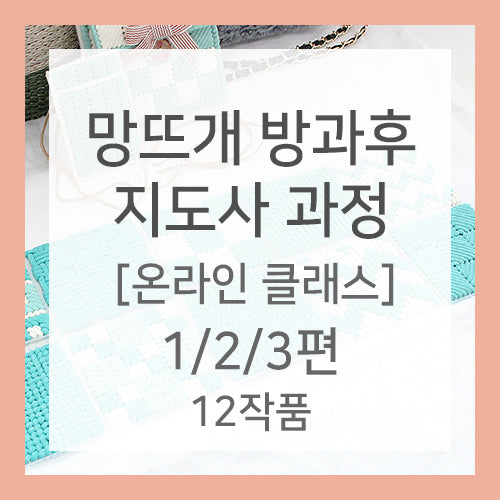
온라인 자격증 강의 과정
망뜨개 방과후 지도사
코바늘/대바늘과 차별화된 자격증!!!
망뜨개를 처음하시는 분도 가능합니다.
망자르는 방법부터 자세히 교육하여 드립니다.
강의에 따라 단계적으로 작품을 뜨시다 보면 실력이 점차 늘어나는 것을 느낄실 수 있습니다.
강의로 향상된 나의 망뜨개 능력은 자격증으로 검증 받아보세요.
나의 망뜨개 능력 확인과 사회 활동시 증명으로 사용하실 수 있습니다.